Student Printing
Balance Check
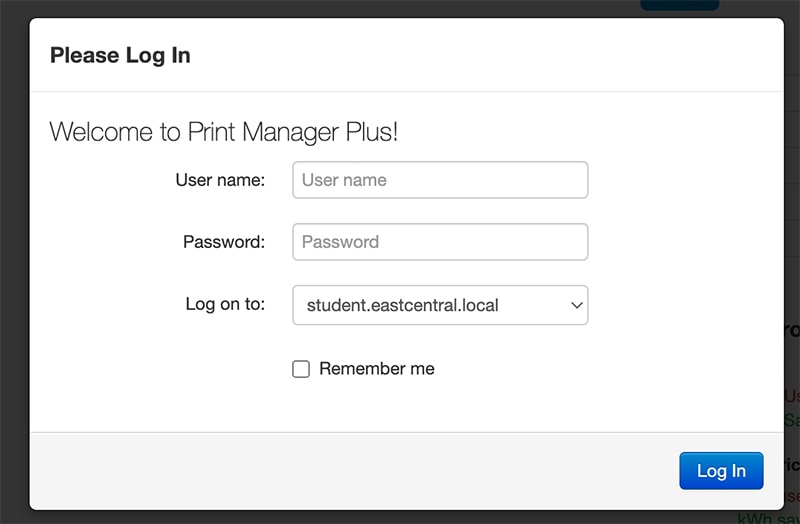
To check your print balance, log in with your username and password. (Log on to: should be student.eastcentral.local)
Once you are logged in, choose the Balances tab.
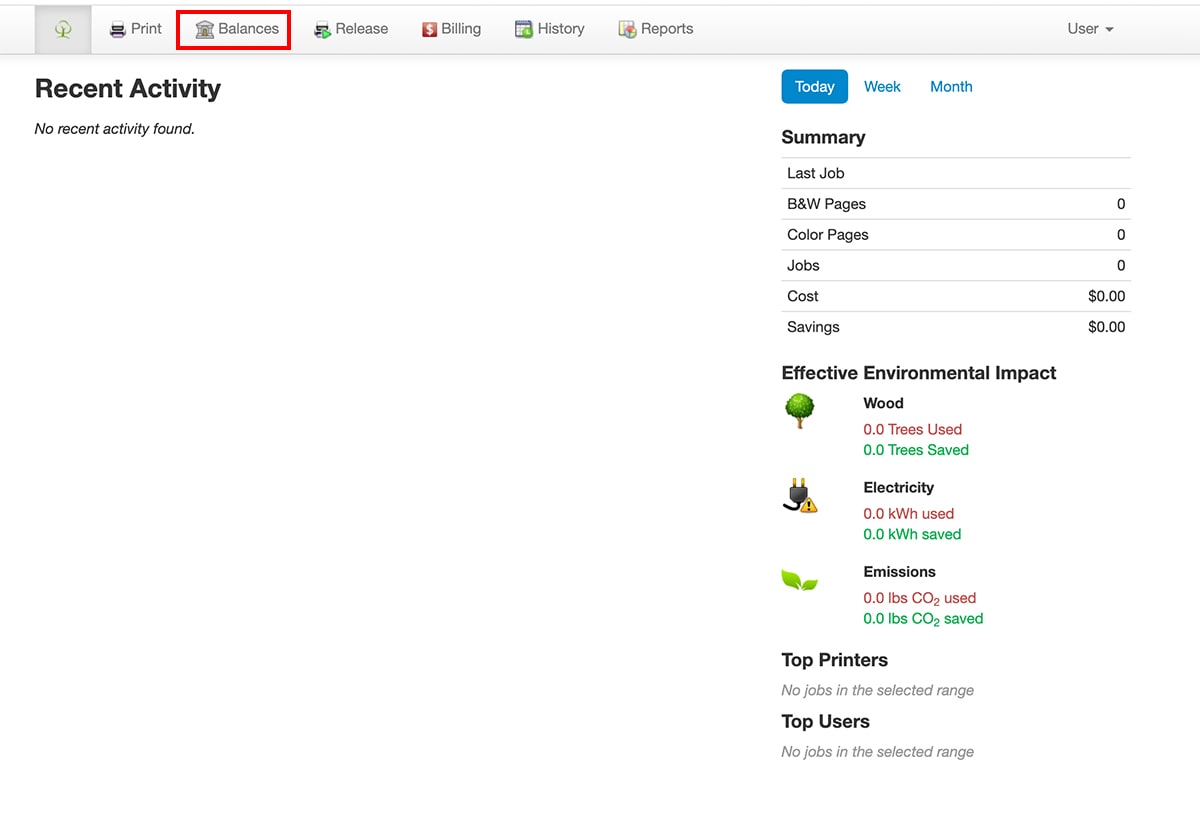
The Balance Information page will display your Primary and Paid balances. Primary is the amount of free printing you get each semester. Once the Primary balance is depleted, you will need to go to the Cashier or Library to add to your paid account.

Wi-Fi Printing
Students can now use Wi-Fi to print to printers in the Learning Center and Library. Once logged in to print.eastcentral.edu from your laptop, click the Print tab on the navigation and then install the Web Printer software on your laptop.


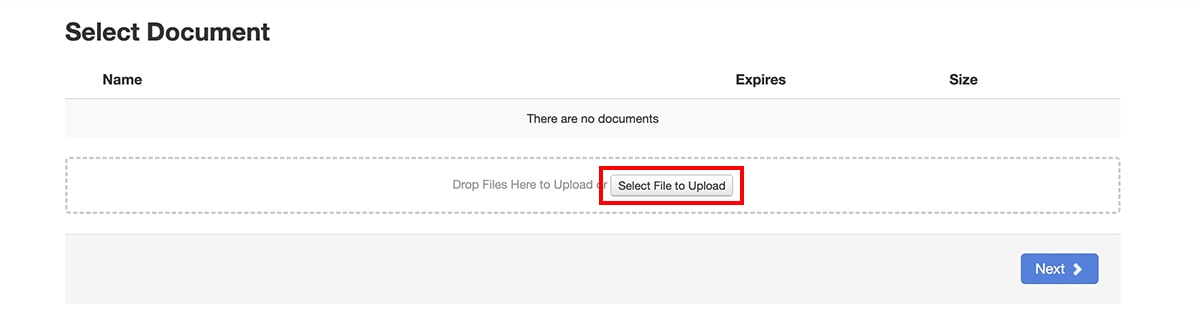
Choose the location of the file that you want to print with the Select File to Upload button. Once the file is uploaded, press the Next button.
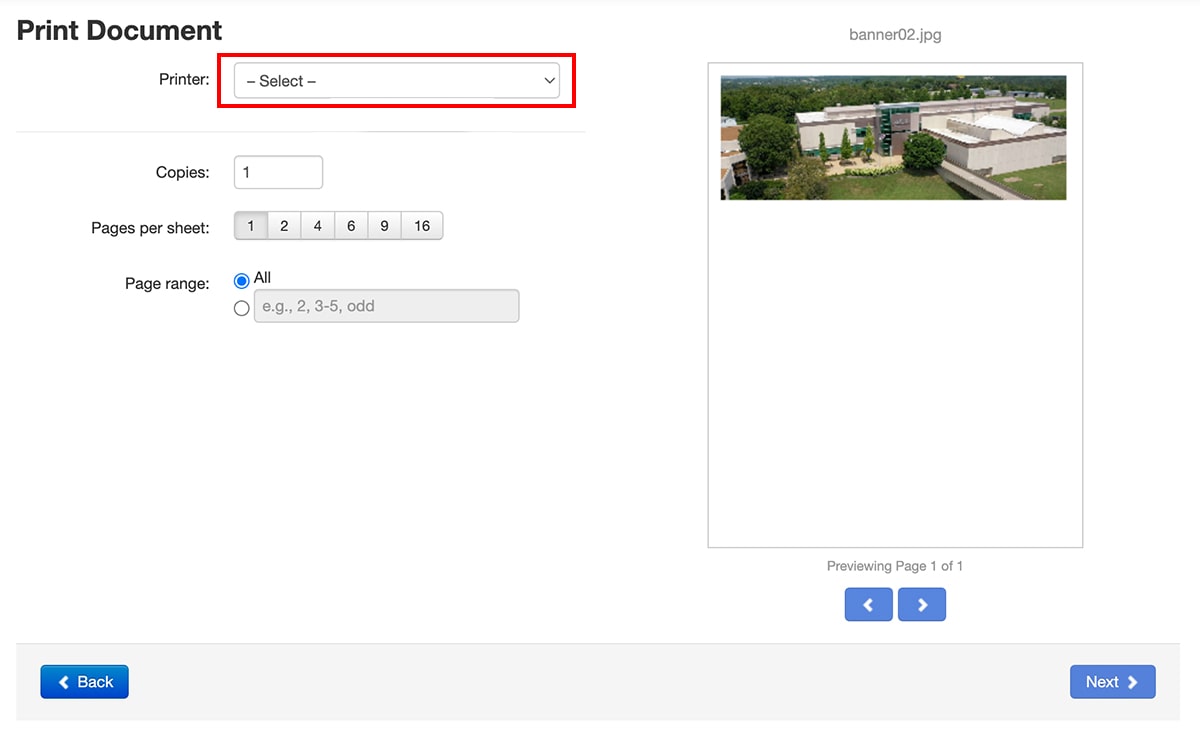
You will then select the appropriate printer that you would like use to print.
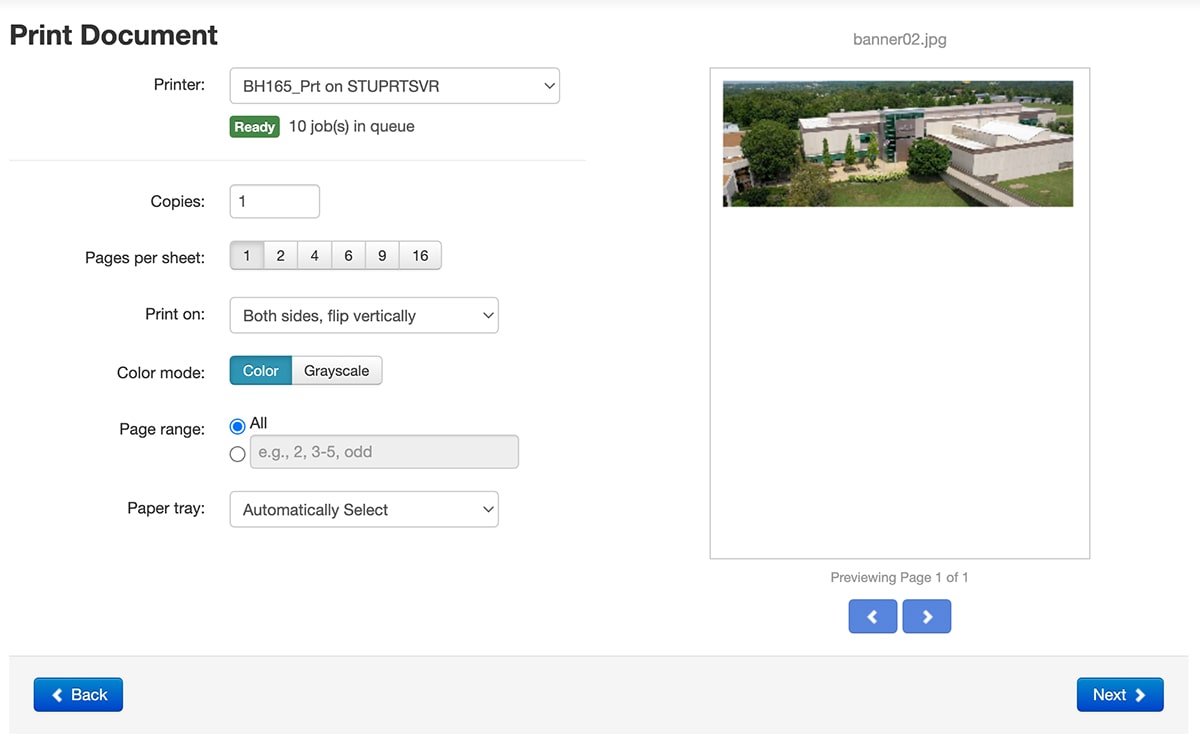
Once you select your desired printer, review the print options and click the Next button.
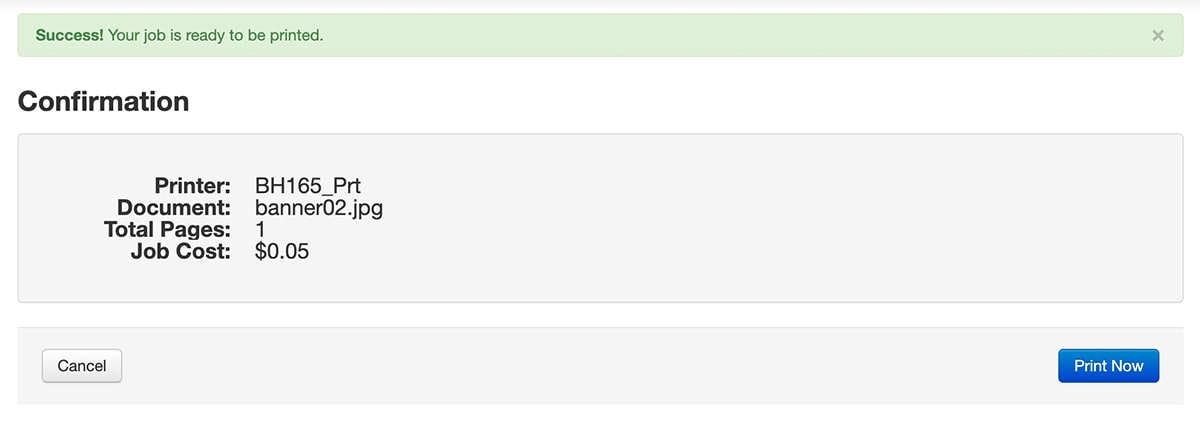
Review the Confirmation page. If you are sure that you are ready to print, click the Print Now button to release the job to the selected printer.